
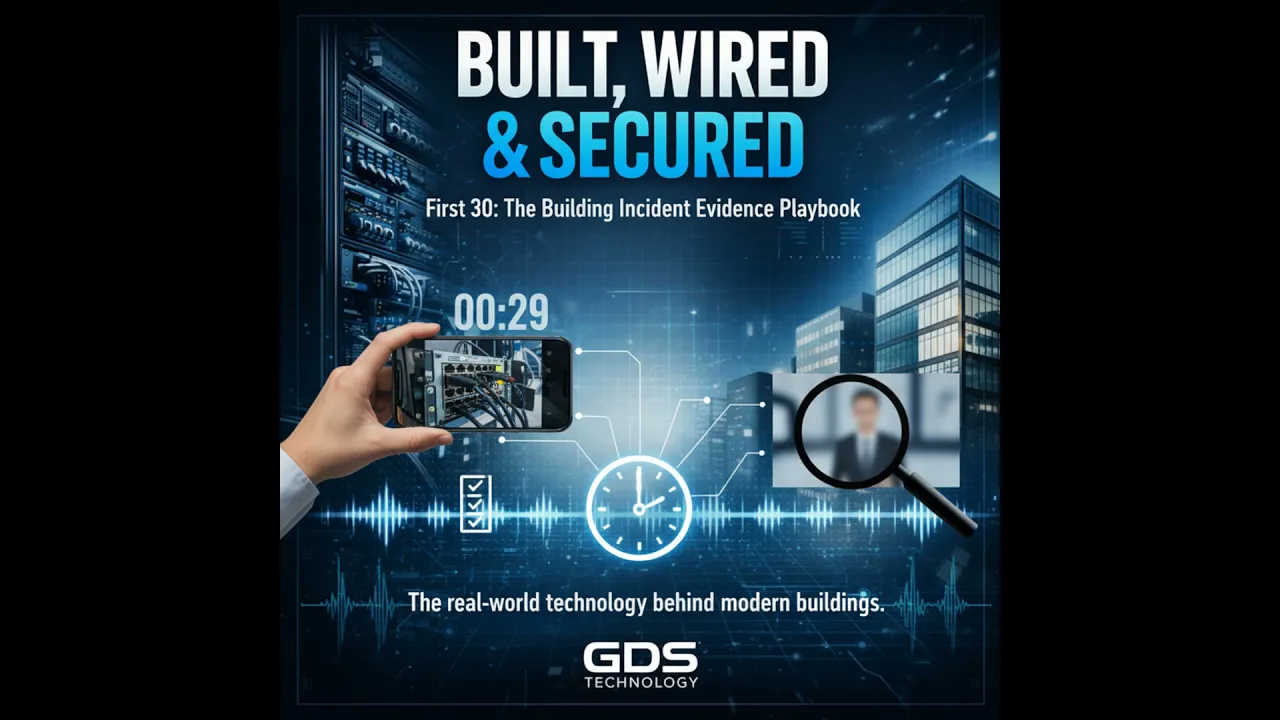
Show Notes
The First 30 Minutes Shape the Recovery
When a building systems incident occurs, the first response often determines whether the team resolves the issue quickly or loses days to uncertainty. This episode focuses on practical, privacy-minded evidence handling during the first 30 minutes after an incident—not forensic extraction or legal chain-of-custody work.
The central lesson is simple: clear operational evidence gives incident teams context they can act on. Poorly captured evidence creates questions, delays decisions, and forces teams to spend time confirming basic facts instead of addressing the root cause.
The episode illustrates the stakes with a late-night engineer responding to an alarm. A single blurry, unlabeled phone photo—with part of a tenant badge visible—created confusion about what the team was seeing. Verifying that image and resolving its privacy concerns added 36 hours to the recovery effort. While tenants were offline and vendors were staged, leadership needed answers about impact and risk. The missing context turned every decision into a guess.
What to Capture First
The goal is not to collect everything. It is to collect a small, useful evidence packet that enables the next person to understand the situation without guessing.
- Timestamped photos showing context: Capture a wide shot, a medium shot, and a close-up. The wide shot shows where the device or panel sits. The medium shot makes the device label or panel door legible. The close-up documents status lights or an error readout.
- Clearly labeled device identifiers: Record the sticker ID, serial number, or logical device name. An image is far more useful when the team can connect it to the correct system.
- A short status snapshot: Capture the immediate error or status line from the console or device logs, including the time. The recommendation is a one-line snapshot, not a full log collection.
- On-site roles: Record who was on site and each person’s role for internal tracking. The episode recommends keeping this to name and job title.
For photos, use a short typed caption such as “device ABC123 amber fault 0214.” Name each file using the incident ID, time, and a brief descriptor. Consistent names eliminate uncertainty when the evidence packet is reviewed later.
Privacy Boundaries Matter
Speed does not require careless collection. The team should avoid capturing tenant faces, visible badges, personal documents, caller IDs, or tenant-specific information. Privacy should remain central even during an urgent operational response.
Personal phones may be used when team policy permits, but they should be used intentionally. After transfer, lock the photo gallery immediately. Move files to the designated incident folder on an approved secure device, then delete sensitive images from the phone if policy requires it. Never place tenant-identifying images in a public chat or on social media.
If an image accidentally includes personally identifiable information, redact it before sharing. Blur or crop faces and badges, and record that redaction in the evidence packet. Keeping the handling path short and controlled supports both operational usefulness and tenant trust.
Three Acceptance Checks for Every Packet
Evidence does not need legalistic overhead to be useful. The episode recommends three lightweight acceptance checks once the incident packet reaches the responsible lead:
- Do the files open? Confirm that the team can access and view the transferred materials.
- Do the filenames match the incident ID and timestamps? Check that the naming convention makes the files traceable to the right event.
- Is there a short metadata note explaining the context? Include enough information for someone who was not on site to understand what each item shows.
If any of these checks fail, flag the problem and recapture the information if it is safe to do so. These checks prevent a common operational failure: discovering too late that the available evidence cannot be understood, accessed, or reliably tied to the incident.
Assign Ownership and Secure the Materials
The first preservation habit is immediate ownership. Identify both the person who collected the evidence and the incident evidence lead responsible for receiving and validating it. Clear responsibility prevents evidence from becoming lost in a group chat, scattered across personal devices, or inaccessible when the response escalates.
Next, move the materials to one secure location. The episode gives examples such as a locked network folder or encrypted flash drive, with access restricted to the incident team. The purpose is not to create a forensic process; it is to ensure the right team can find, validate, and use the evidence without confusion.
Run a 30-Minute Evidence Drill
Property teams can test this process with a short rehearsal this week. Start with a simulated alarm or tabletop prompt and assign three roles:
- On-site tech: Collects the contextual photos, device identifiers, and one-line log snapshot.
- Incident lead: Receives the packet, performs the three acceptance checks, and confirms receipt.
- Communications lead: Prepares an anonymized stakeholder brief that excludes PII.
After the exercise, measure the time from first arrival to a verified evidence packet. The target is under 30 minutes. That metric is repeatable and shows whether roles, handoffs, and evidence practices work under realistic conditions.
Three Actions to Take This Week
- Download and print the one-page 30-Minute Incident Evidence Checklist from the show resource hub, then post it in the operations room.
- Run a 30-minute drill with the actual people who will fill the on-site, incident-lead, and communications roles. Time packet assembly and aim for under 30 minutes.
- Adopt a clear privacy rule: redact tenant PII before sharing an image, and log the redaction in the incident packet.
The operational math is straightforward: invest 30 minutes in a drill now, or risk spending 36 hours later resolving uncertainty. Name the owner, take labeled photos, perform the three checks, and time the drill. Small habits can keep operations moving and help protect tenant trust.
For formal forensic chain of custody or legal evidence requirements, involve the appropriate specialists.
Why the First 30 Minutes of a Building Incident Matter
A building systems incident can begin with a simple alarm, an unavailable service, a fault light, or an unexpected status message. The technical issue may be manageable. The response can still become slow, expensive, and disruptive if the team cannot establish what happened, where it happened, and what was observed when the issue began.
The first 30 minutes are where that operational clarity is either created or lost. A useful evidence packet helps the incident team understand the scene, identify the affected device, validate the immediate status, and communicate safely with stakeholders. A poor packet forces people to reconstruct basics after the fact, often while tenants, vendors, and leadership are waiting for answers.
This is not a discussion of forensic extraction or legal evidence handling. Formal chain of custody and legal requirements call for the right specialists. The focus here is a practical operational playbook that property and building teams can use to preserve useful context, maintain privacy, and accelerate the path to an informed response.
The Cost of an Unclear Photo
Consider a late-night engineer responding to an alarm. The engineer takes one photo with a personal phone and sends it to the operations group. The photo is blurry. It is not labeled. A tenant badge is partly visible in the frame.
That image may seem better than nothing, but it can quickly become a source of delay. What device is shown? Where is it located? When was the image taken? Is the light or message still current? Can the image be shared safely? Does the tenant badge require redaction before the team can circulate it?
Those questions distract from the actual incident. In the episode’s example, the unclear image and the uncertainty around it cost the team 36 extra hours. Tenants were offline, vendors were staged, and leadership needed to understand what would break if the affected system went down. Without clear, time-stamped evidence, every decision became a guess.
The goal is not to burden on-site staff with a complicated process. It is to give them a short, repeatable set of habits that produces evidence others can use immediately.
Build a Small, Usable Evidence Packet
The best first-response packet is focused. It captures the specific information the next responder needs while avoiding unnecessary technical collection and privacy exposure.
1. Take timestamped photos with context
Use three views of the affected equipment or panel:
- Wide shot: Show the surrounding area and the panel or device in context.
- Medium shot: Focus on the panel door or device label so the identifier can be read.
- Close-up: Capture the status lights, error display, or immediate fault indication.
The progression matters. A close-up may show an error, but it does not necessarily show where the device is or which panel the team is reviewing. A wide shot establishes context. A medium shot ties that context to the correct equipment. A close-up documents the condition that needs attention.
Add a concise typed caption when appropriate. For example: “device ABC123 amber fault 0214.” The caption should be short, factual, and directly connected to the visible condition.
2. Make the device identity unambiguous
Record the device sticker ID, serial number, or logical name. This prevents the response team from spending time asking whether the photo shows the correct asset. A readable identifier bridges the gap between what the on-site person sees and what remote teams, vendors, or records systems recognize.
3. Capture a one-line status snapshot
Collect the immediate error or status line from the console or device logs, including the associated time. The recommendation is intentionally limited: do not attempt to capture full logs in the first 30 minutes. A short, timely snapshot gives the response team an initial reference point without overwhelming the packet or slowing the on-site responder.
4. Record who was on site
For internal tracking, note the name and job title of the people present. This establishes operational context and ownership without collecting more personal information than necessary.
Use a File-Naming Standard That Removes Guesswork
A photo is only useful if someone can identify it later. Each evidence file should include the incident ID, time, and a short descriptor. This naming convention helps the team sort related materials, connect them to the right incident, and understand their purpose without opening every file.
Consistent naming also improves handoffs. The incident lead should not need to determine whether “IMG_4821” belongs to the current event or an unrelated maintenance activity. A descriptive file name reduces friction at exactly the moment when the organization needs rapid, reliable decisions.
Protect Privacy During Capture and Sharing
Urgency does not eliminate privacy responsibilities. A building incident may occur in an environment where tenant faces, badges, caller IDs, documents, or tenant-specific data are visible. The operational objective is to document the equipment and its status, not to capture people or unrelated information.
Teams should avoid taking photos that include:
- Tenant faces
- Visible badges
- Personal documents
- Caller IDs
- Tenant-specific information
If a photo accidentally includes personally identifiable information, redact it before it is shared. Blur or crop faces and badges, then log the redaction in the incident packet. This creates a clear record that the team recognized and addressed the privacy issue.
Personal phones can support fast collection when policy allows them, but they require intentional handling. After the photos are transferred, lock the gallery immediately. Copy materials to the incident folder on an approved secure device. Delete sensitive images from the phone when policy requires it. Do not upload tenant-identifying images to public chat spaces or social media.
These steps keep the chain of handling short and controlled. They also support a basic but important outcome: teams can move quickly without compromising tenant trust.
Assign an Evidence Owner Immediately
Evidence needs ownership from the start. The team should identify two things immediately: who collected the materials and who is serving as the incident evidence lead.
The collector is responsible for gathering the agreed packet. The incident evidence lead is responsible for receiving it, validating it, and ensuring it is placed in the approved secure location. This simple division reduces the risk of evidence being scattered across personal devices, buried in chat threads, or left without a clear recipient.
After collection, transfer the packet to a single secure location, such as a locked network folder or encrypted flash drive. Restrict access to the incident team. The objective is not legalistic process for its own sake. It is operational availability: the right people should be able to find and use the right information without confusion.
Use Three Acceptance Checks Before Moving Forward
Once the incident evidence lead receives the packet, perform three quick checks:
- Do the files open? Verify that the materials are accessible.
- Do the file names match the incident ID and timestamps? Confirm that the packet is traceable to the correct event.
- Is there a short metadata note explaining context? Ensure someone who was not on site can understand what the evidence shows.
These checks are fast, but they are meaningful. An inaccessible file, mismatched name, or missing explanation can turn a seemingly complete packet into a dead end. If a check fails, flag the problem and recapture the material if it is safe to do so.
Rehearse the Process in 30 Minutes
The most effective way to make this playbook reliable is to rehearse it. A property team can run a short drill using a simulated alarm or tabletop scenario.
Assign three roles:
- On-site tech: Collects photos, identifiers, and the one-line status snapshot.
- Incident lead: Receives the evidence packet, performs the three acceptance checks, and confirms receipt.
- Communications lead: Creates an anonymized stakeholder brief that excludes PII.
Measure the time from first arrival to a verified evidence packet. The target is under 30 minutes. This metric is practical because it tests more than individual performance. It shows whether the team’s roles, handoffs, file handling, privacy practices, and acceptance checks work together.
A drill also makes small process gaps visible before a real incident puts tenants and operations under pressure. If a team cannot find the approved folder, does not know who validates evidence, or cannot create an anonymized update quickly, the rehearsal exposes the issue when the stakes are low.
Three Actions for This Week
- Download and print the one-page 30-Minute Incident Evidence Checklist from the show resource hub and post it in the operations room.
- Run a 30-minute drill with the people who will act as the on-site tech, incident lead, and communications lead. Time the packet assembly and target under 30 minutes.
- Adopt a privacy rule requiring tenant PII to be redacted before sharing, with each redaction noted in the incident packet.
The operational case for this work is straightforward: spend 30 minutes building the habit now, or risk spending 36 hours later resolving uncertainty. Name the owner, take labeled photos, complete the three checks, and time the drill.
Listen to this episode of Built, Wired & Secured for the full practical walkthrough, including the one-page checklist and templated evidence packet available through the show resource hub.